
Have you noticed water pooling in the same spot every time it rains? You’ve cleared the gutters and checked the pipes, but the problem persists. If stormwater has become a recurring issue on your property, one overlooked solution could be a stormwater pit installation.
Think of a stormwater pit like a relief valve for your yard. Without it, pressure builds until water finds its own way out, usually somewhere you don’t want it to go.
In Queensland, where rainfall events are extreme, every Gold Coast drain plumber must be equipped with strong stormwater infrastructure solutions. Pits are the unsung heroes keeping suburban blocks from turning into swamps.
How does a stormwater pit work?
A stormwater pit is built below ground to intercept runoff before it floods yards or driveways. It stores water temporarily, allowing the rest of the drainage system to process the excess at a manageable rate.
Success in managing runoff starts with selecting the right components and installing the stormwater pit according to exact site conditions.
Investing in a drain inspection first clarifies if you need a pit and that the issue is not just a stormwater drain blocked by tree roots.
Which Stormwater Pit Is Right for Your Property?
| Type | Description |
| Precast Knockout Pit | Made from heavy-duty precast concrete. Most commonly used stormwater pit in residential and commercial applications. Features “knockout” sections that can be removed to accommodate pipe inlets and outlets. |
| GRC Pit (Glass Reinforced Concrete) | GRC pits consist of a lightweight composite made from concrete and fibreglass. Only two people can carry and install a GRC pit. Drain plumbers would not recommend this GRC for locations that require heavy load-bearing support. |
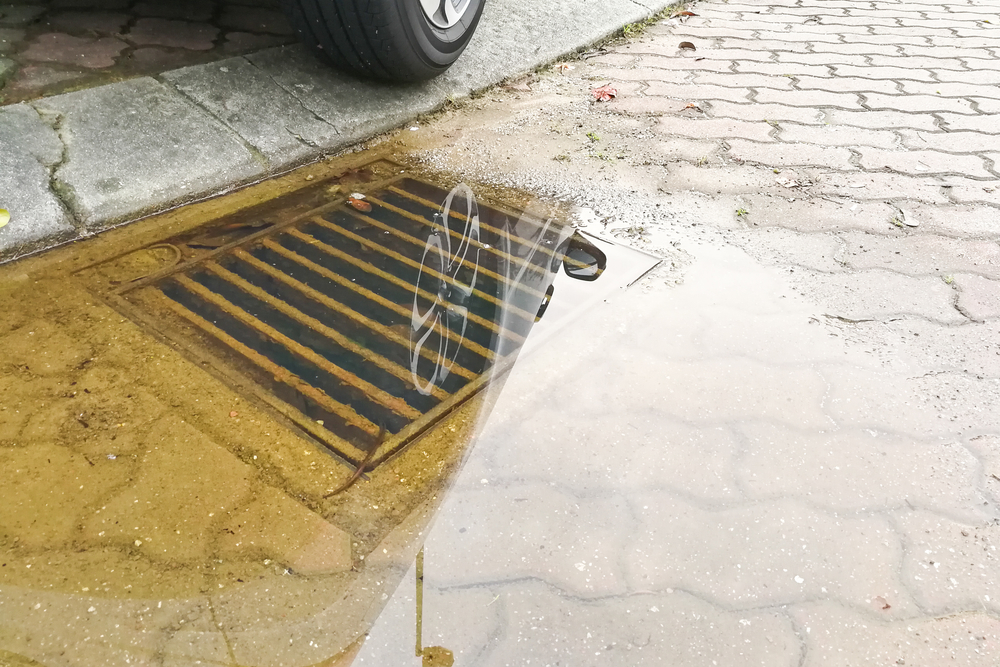
| Side Entry Pit | Typically seen along kerbs and gutters. The lateral entry point enables effective capture of surface water along curbs and gutters. Side entry pits lead into larger stormwater systems and are reinforced to withstand vehicle traffic. |
| Custom Pit | Custom-designed stormwater pits provide tailored drainage solutions when standard products do not meet a property’s specific needs. Manufacturers build these pits to precise dimensions, materials, and configurations to suit unusual site conditions. |
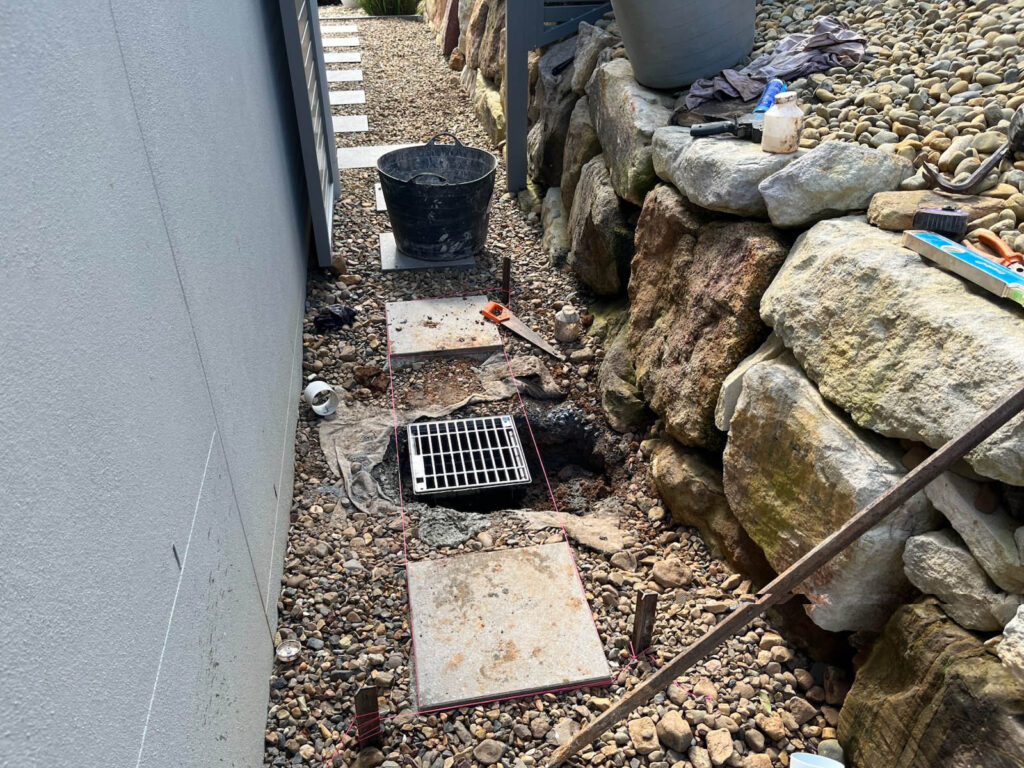
How to install a stormwater pit?
You’ll need a licensed professional, well-experienced in stormwater drainage solutions to plan and install it for you just about everywhere in Australia. A poorly installed stormwater system may result in uncontrollable flooding that affects your neighbours and compromises your property’s structural integrity. But if you do want a basic outline of what is involved with stormwater pit installation, here it is:
Assess Drainage Requirements
Identify areas on the property where water tends to pool or where runoff commonly occurs. Calculate the catchment area to determine the appropriate stormwater pit capacity. Review local council regulations to ensure compliance with discharge and connection requirements.
Choose the Right Pit Size and Type
Select a pit material (polymer, concrete, or PVC) based on load rating (e.g., pedestrian or driveway use). The pit size must match your expected water volume and comply with local codes.
Determine Location and Depth
Position the pit at the lowest point of the area needing drainage. Ensure proper fall (1–2%) from surrounding surfaces toward the pit. Confirm the depth allows for sufficient pipe gradient and connection to the main stormwater line.
Excavate the Pit Area
Make the pit hole slightly larger than the actual unit to allow for adjustments. Support the sides and ensure the depth accommodates the base layer.
Prepare the Base, Set the Pit, and Connect Pipes
Begin by laying a solid base of compacted gravel or a concrete pad to support the stormwater pit. Place the pit on the base and make sure it sits level and aligns with the planned inlet and outlet connections.
If the pit doesn’t have pre-formed entry points, cut pipe openings manually and seal them using rubber grommets or solvent welding to ensure watertight connections.
Install 90mm or 100mm PVC pipes for residential use, maintaining a consistent fall of at least 1% to promote proper drainage into and out of the pit.
Backfill and Compact Around Pit
Surround the pit with gravel or sand for drainage and stability. Backfill in layers and compact gently to avoid shifting the pit. Avoid using heavy machinery directly over the pit unless it’s load-rated for such use.
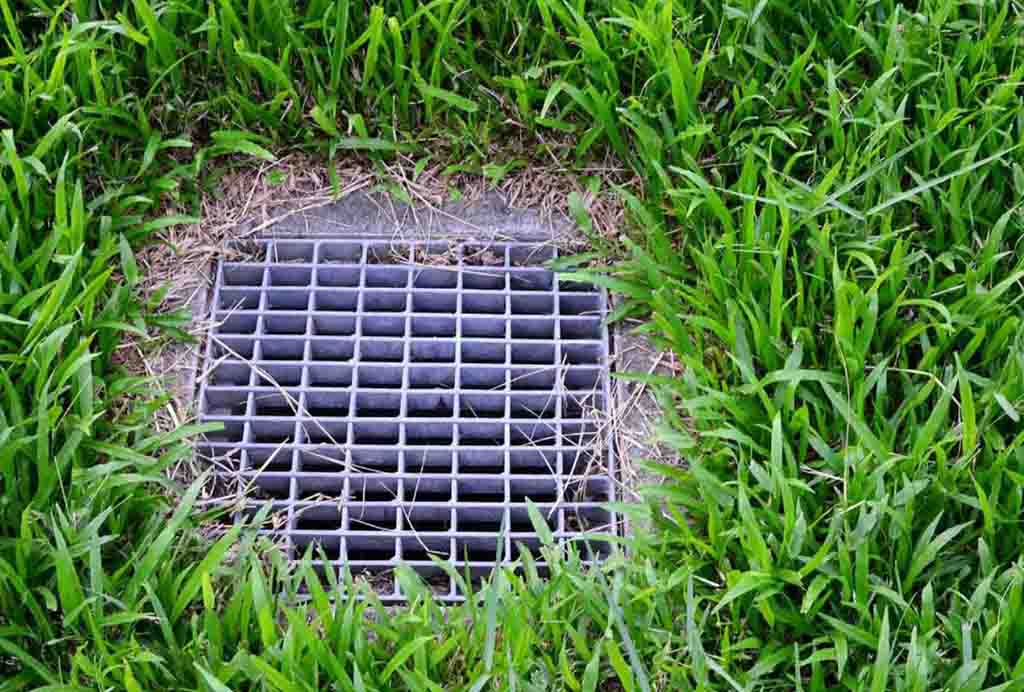
Install Grate or Cover
Fit the appropriate grate securely (heelguard, plastic, or cast iron based on use case). The grate must sit flush with the ground surface to prevent tripping or pooling.
Connect to Stormwater Discharge Point
The outlet must connect to a legal stormwater drain, kerb adaptor, or onsite dispersion trench, as per council guidelines. Use inspection points if required.
Test the system by pouring water into the connected drains to verify proper flow and confirm there are no leaks or signs of backflow. After the first heavy rainfall, inspect the area for any signs of pooling, slow drainage, or overflow to ensure the stormwater pit is functioning as intended.
End Your Drain Problems with Drain Masters Plumbing
The drain plumbers at Drain Masters Plumbing is your true local plumbing experts for all of your plumbing system’s drainage needs, including inspection, drain cleaning and installations.
We service every corner of Gold Coast including Coomera, Robina, Southport, Burleigh Heads as well as the Tweed Heads and Coolangatta region south to Casuarina.
Frequently Asked Questions
What is the difference between a stormwater pit and a soakwell?
A stormwater pit collects and directs runoff into pipes or the council system, while a soakwell allows water to slowly seep into the surrounding soil.
Why does my yard flood during heavy rain even with drains installed?
If drainage was not designed with local rainfall intensity in mind, or if pipes are undersized or blocked, water can accumulate faster than it drains away. This is common in regions like the Gold Coast where sudden, intense downpours are frequent. A qualified drain installer must consider historical rainfall data and peak storm events when planning your system to ensure it can handle high volumes efficiently.
What causes a stormwater pit to overflow?
If the pit is too small for the area’s catchment or wasn’t installed with adequate outflow capacity, it can’t cope during intense rainfall. Blocked inlet or outlet pipes, clogged with leaves, sediment, or debris, prevent water from draining out quickly enough. Incorrect pit placement or slope can also cause pooling instead of proper flow.


